The first step for any espalier is to create a support system to provide a place to tie down limbs and support the weight of the tree and its fruit. You can use any sturdy structure. I choose the posts and wire method because it was inexpensive and relatively easy to put up even with no carpentry skills.
This post is meant to demonstrate one type of support. It is not a step-by-step tutorial so make sure you read all the way through before you start.
Obviously you're going to need to set some wooden posts. How you should
do this will depend very much on your climate so I will leave it to you
to research this yourself. Keep in mind these posts need to be very
sturdy. Imagine a fruit tree full of apples being blow around by a
summer thunderstorm. You need this to withstand quite a bit. In
Wisconsin, we have hard winters with lots of frost heave so these posts
are set 4 feet into the ground and are surrounded by concrete.
 |
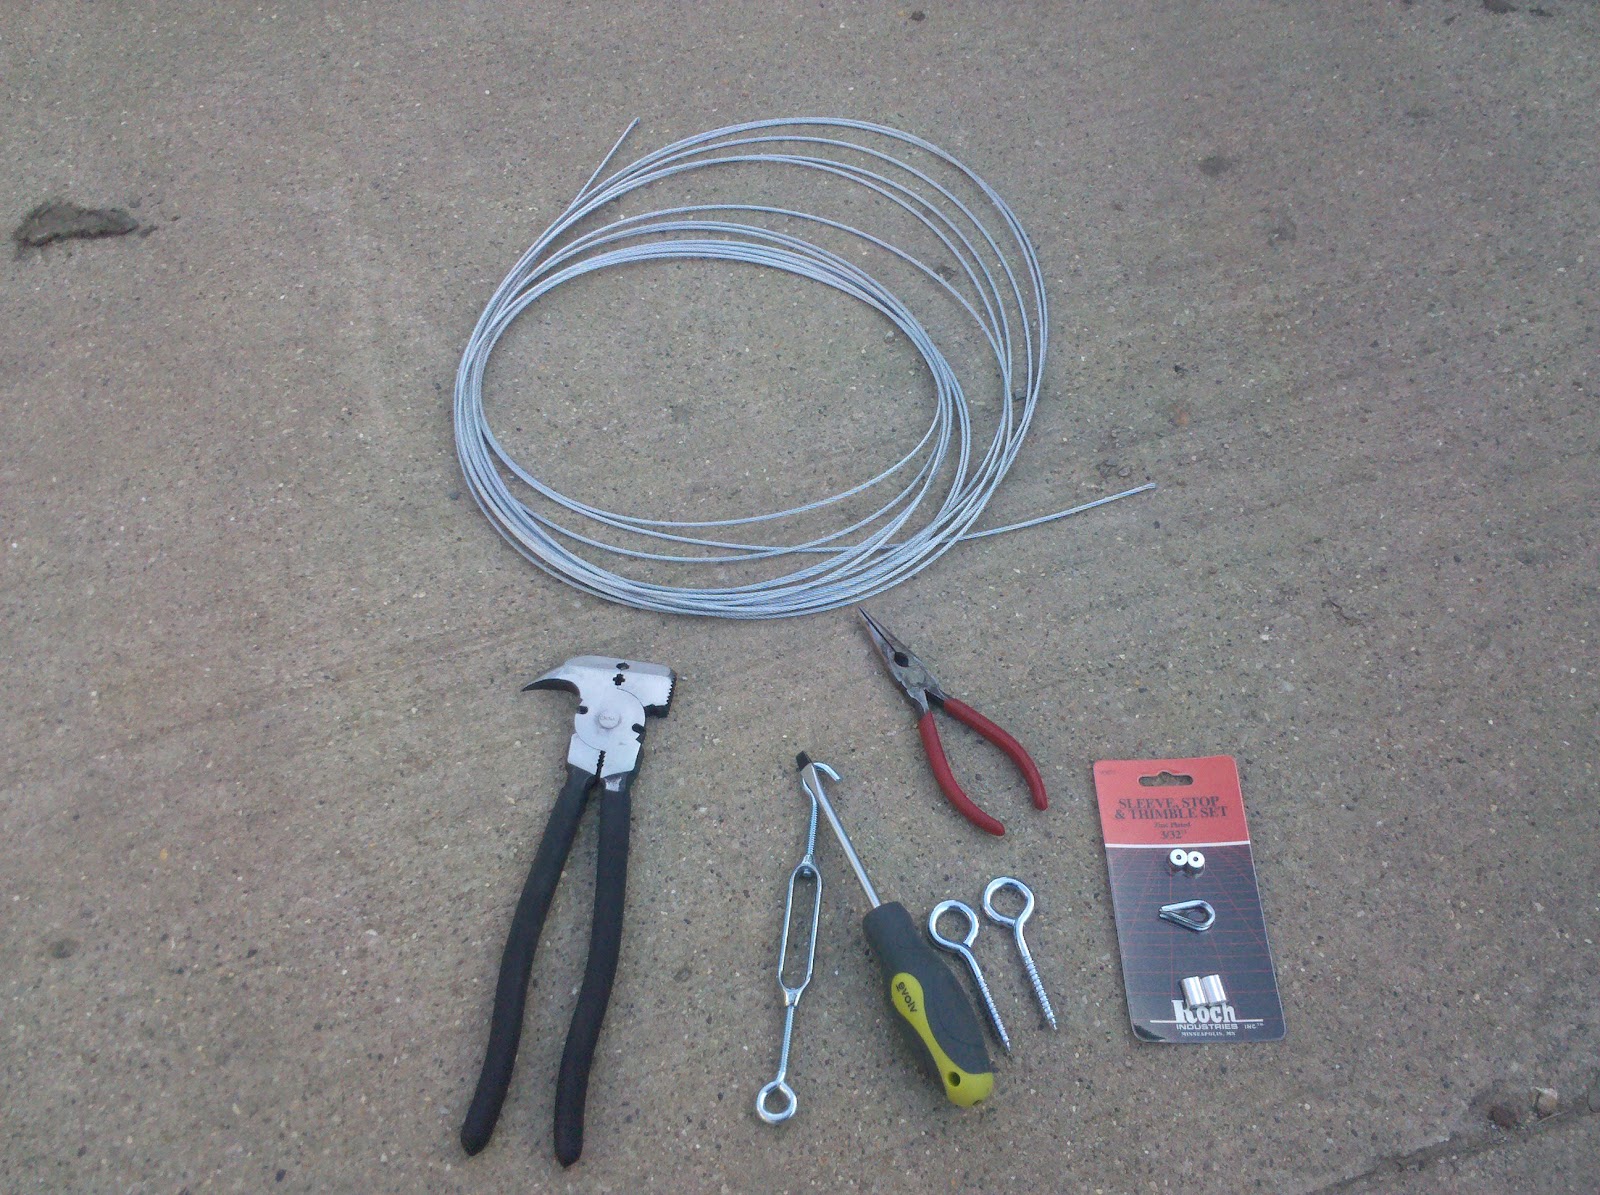
| The stuff you'll need. On top is some braided wire. From left to right: a fencing tool, a turnbuckle, screwdriver, screw eye bolts, pliers, and a thimble, stopper, sleeve set (more on that below) |
Drill some holes the appropriate size for your eye bolts. You want this
to be level so use some string and mark where you need the screw thread
eye bolts.
 |
| Drill a hole appropriate for your eye bolt and hand tighten. |
 |
| Use a screwdriver when the going gets tough. |
 |
Insert the bolts until you run out of threads. Now repeat on the other post opposite this one.
|
 |
| You'll need some special hardware. You can buy a sleeve, stop and thimble set at any store that caters to farmers. |
 |
| These are turnbuckles. The one on the right is "open". Make sure you open all your turnbuckles before you begin. If you don't, the wire will be too short. I learned that the hard way! |
 |
| Measure a length of wire that is two feet longer than the span between your posts. Slide the aluminum sleeve onto the braided wire. |
 |
| Thread the turnbuckle on making sure you have screwed the turnbuckle completely open. |
 |
| Now thread the end of the braided wire through the second hole in the fastener. |
 |
| Now use a fencing tool or a heavy duty pliers to crimp the sleeve together. This crushes the sleeve holding the wire in place. Be sure you apply a LOT of pressure and deform the sleeve. Crimp in three places spaced evenly along the sleeve. |
 |
| This is what the wire should look like once you've crimped the sleeve shut. |
 |
| Now hook the completed turnbuckle assembly onto your eye bolt. |
 |
| Now take the other end of your length of wire and slip a sleeve on. See how it has two channels for the wire to run through. |
 |
| Now thread the wire through the eye bolt and then thread through the open side of the sleeve. |
 |
| Take up the slack in the wire. This is where it is important to have the turnbuckles open. The wire will stretch over time so you need the wire to be fairly taut. As the wire stretches you will be able to further tighten the turnbuckles and keep the wire taut. Now crimp the sleeve shut just like before. |
 |
| Tighten the turnbuckle to make the wire level but don't put too much pressure on the wire or you will warp the posts. |
 |
| Now repeat the process for the other wires and you're done. The wires are a little difficult to see in this photo but I think you get the idea. |
Congratulations! Now you have a strong scaffolding to support your new espalier.